반응형
1.Google Developers 접속
https://developers.google.com/identity/sign-in/ios/start-integrating
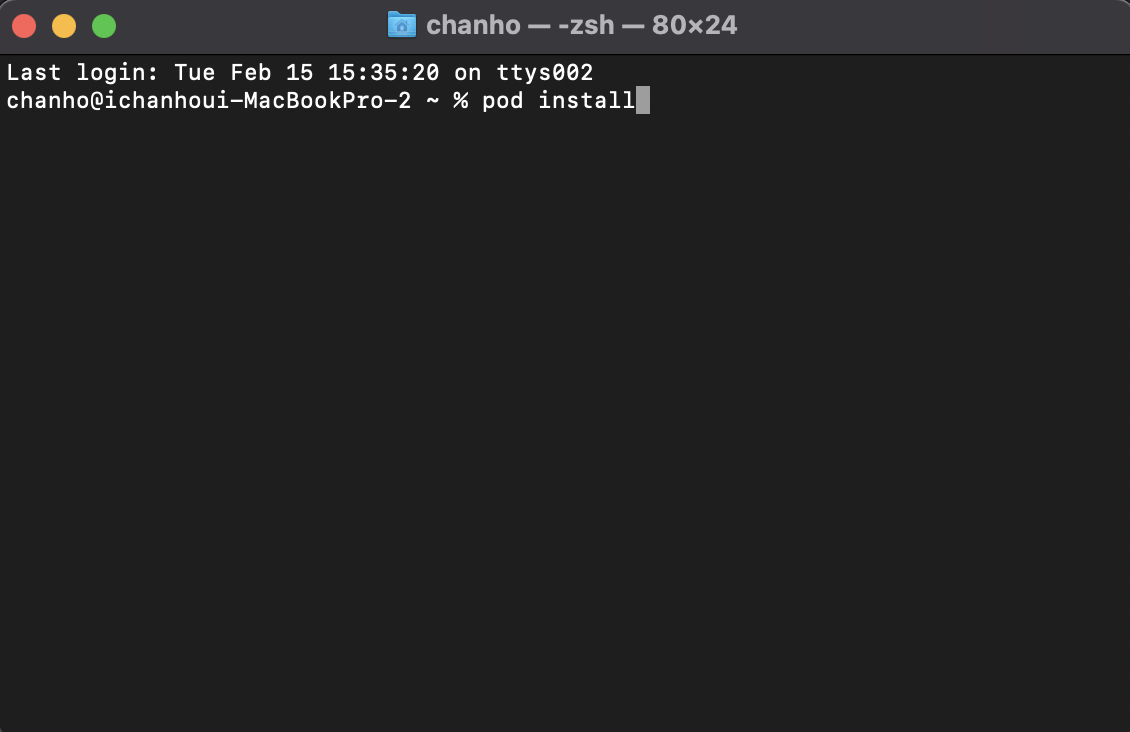
2.라이브러리 설치
2-1 podfile 등록

2-2 pod install
3.구글 클라이언트 ID 만들기
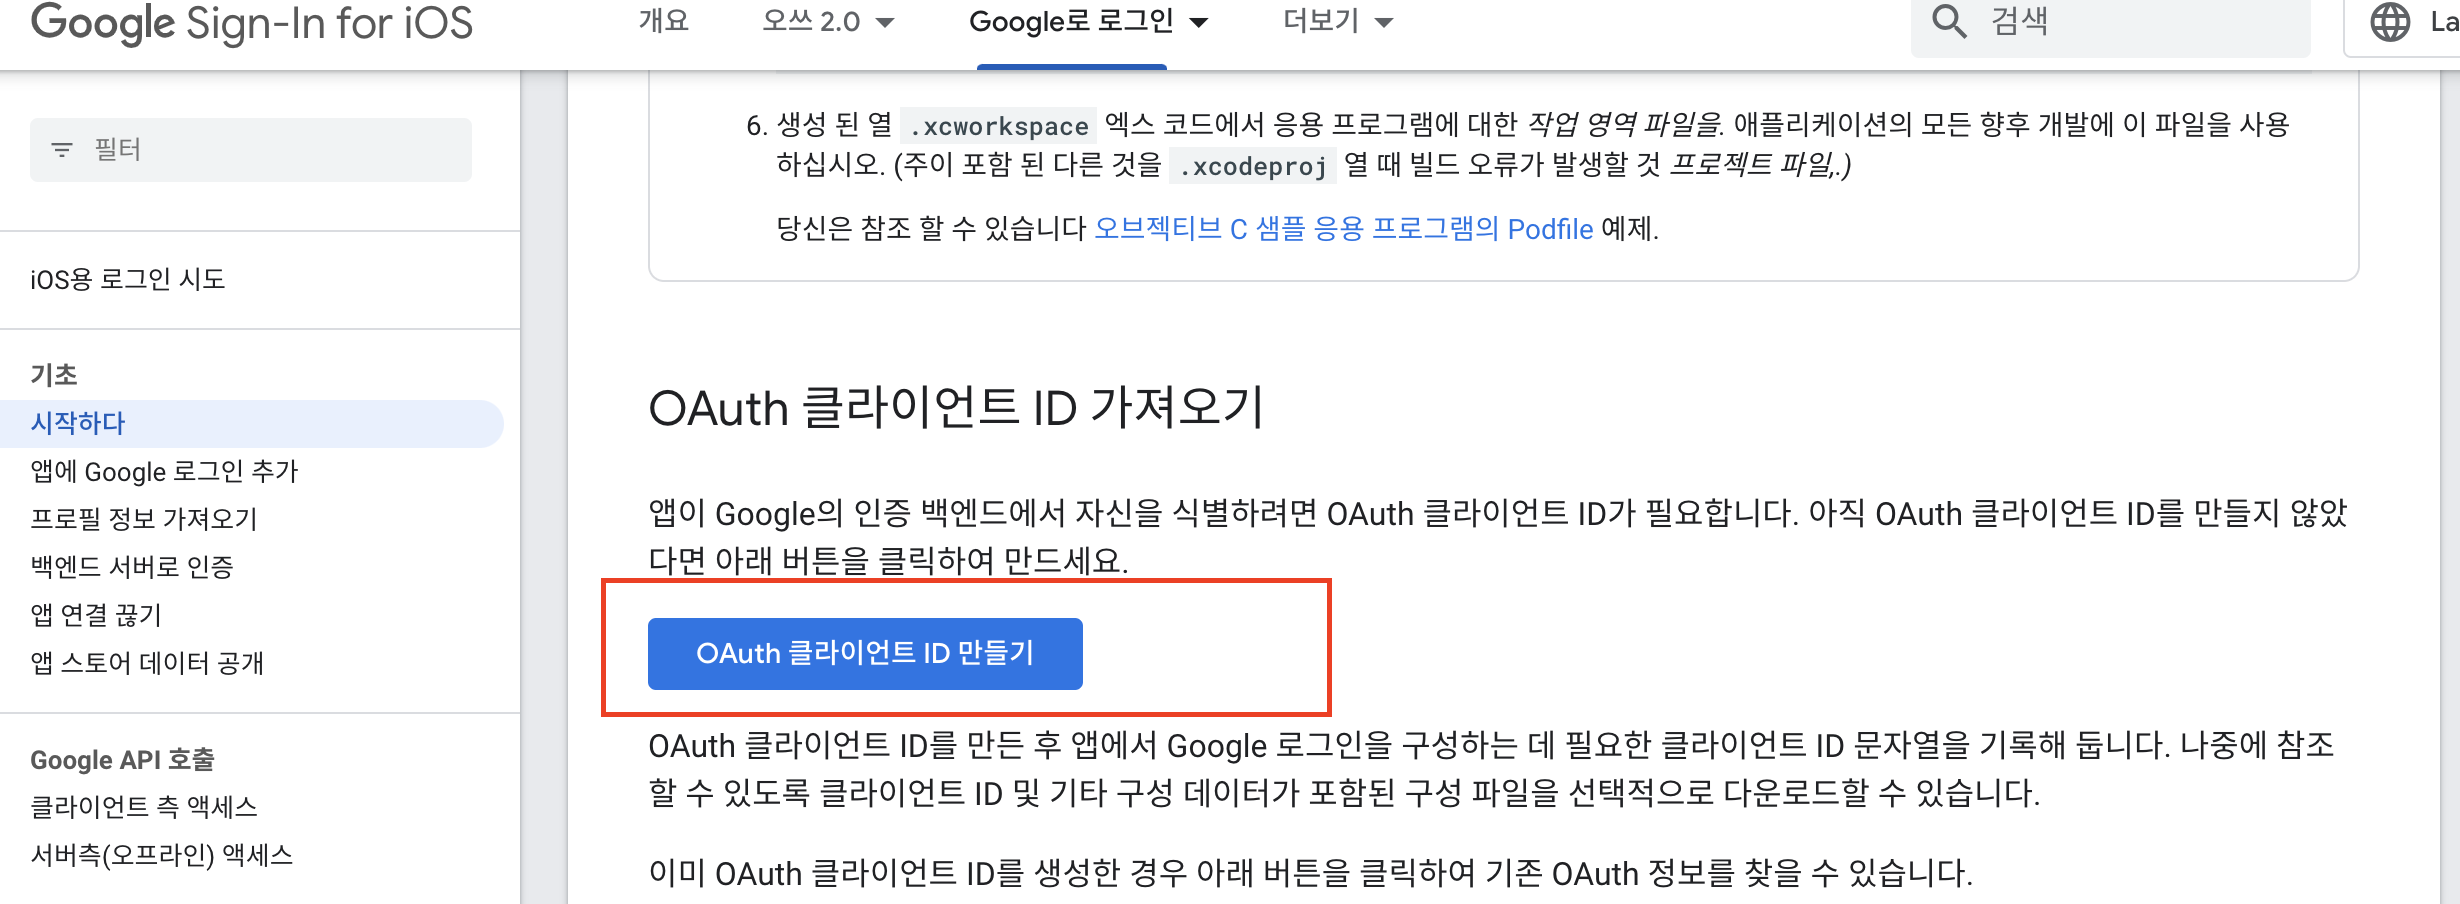
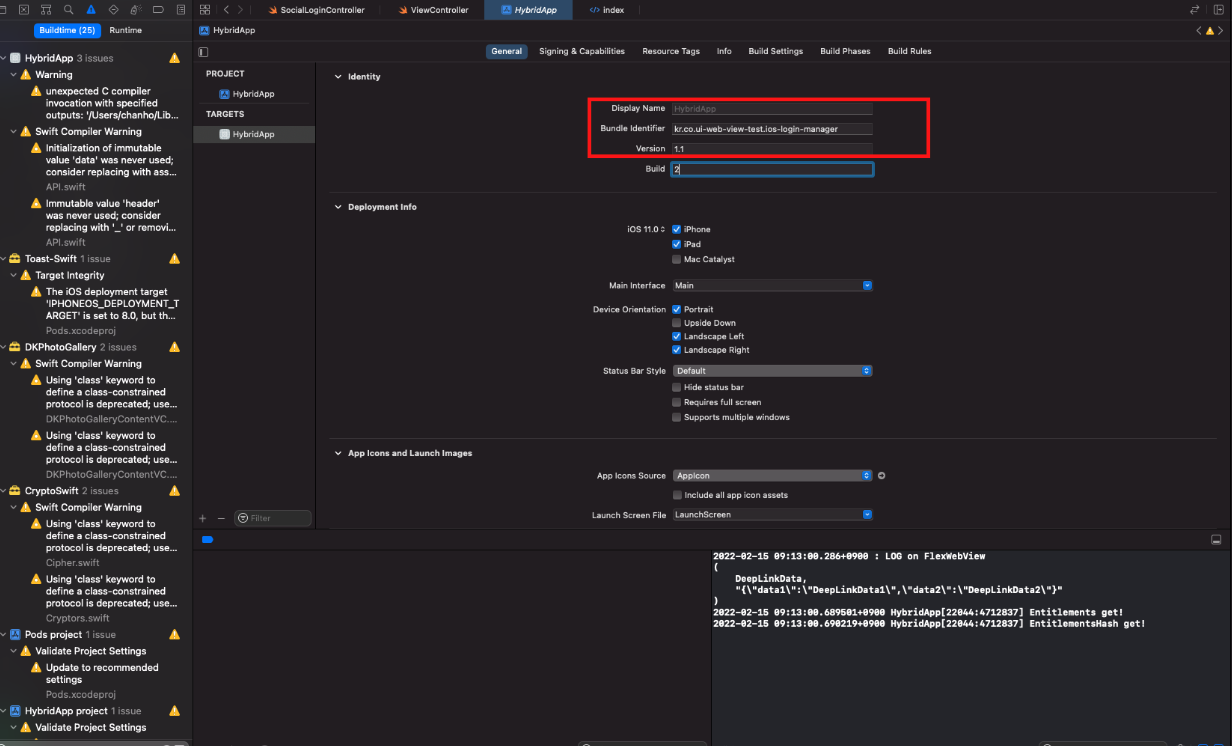
3-1 iOS 선택 및 번들아이디 입력

3-2 클라이언트 아이디 발급완료

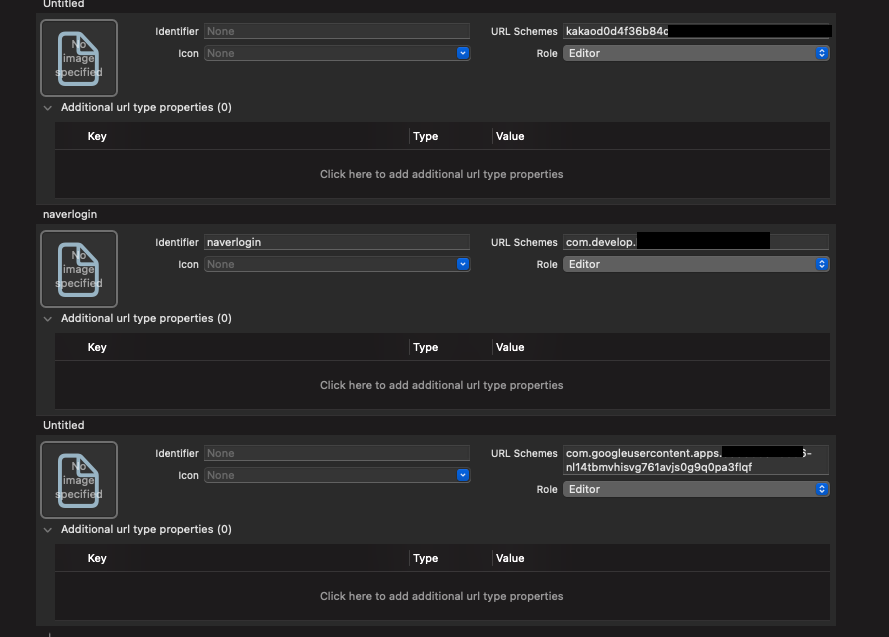
4.URL Schemes 입력(반대로 입력)
ex) com.googleusercontent.apps.12345566-dbo8ncunmaptvoj8h19ol86qv7ac23a
5. Info.plist

6. 코드
5-1(초기 셋팅부분)
#AppDelegate 사용시
import GoogleSignIn

#SceneDelegate 사용시
import GoogleSignIn

5-2실제 실행 함수
ex)"69968893340184-asdfsdfdsaf.apps.googleusercontent.com"
-- 여긴 반대로 아님
//MARK: - 구글 로그인
private func startGoogleLogin(){

    guard let viewController = UIApplication.getMostTopViewController() else { return }

    let signInConfig = GIDConfiguration.init(clientID: "438731793883-4rfj28hfpj5a59j6goddh8lg9o83f43a.apps.googleusercontent.com")

    GIDSignIn.sharedInstance.signIn(withPresenting: viewController) { [weak self] userInfo, error in
        print("userInfo: ", userInfo)
        print("accessToken: ", userInfo?.user.accessToken)
        print("idToken: ", userInfo?.user.idToken)
        print("userID: ", userInfo?.user.userID)
    }
}
유저 아이디, 토큰 추출
혹시 403 권한이 없다고 나오신다면
Error 403: restricted_client This app is not yet configured to make OAuth requests. To do that, set up the app’s OAuth consent screen in the Google Cloud Console.
Google Cloud console
https://console.cloud.google.com
Google 클라우드 플랫폼
로그인 Google 클라우드 플랫폼으로 이동
accounts.google.com
들어가서 OAuth 동의 화면 -> 이메일 입력하면 정상적으로 로그인이 됩니다.
반응형
'Swift' 카테고리의 다른 글
| iOS Firebase Crashlytics (0) | 2022.03.25 |
|---|---|
| iOS 애플 로그인 (0) | 2022.02.27 |
| iOS 페이스북 로그인 (0) | 2022.02.26 |
| iOS 네이버 로그인 (0) | 2022.02.26 |
| iOS 카카오 로그인 (0) | 2022.02.26 |